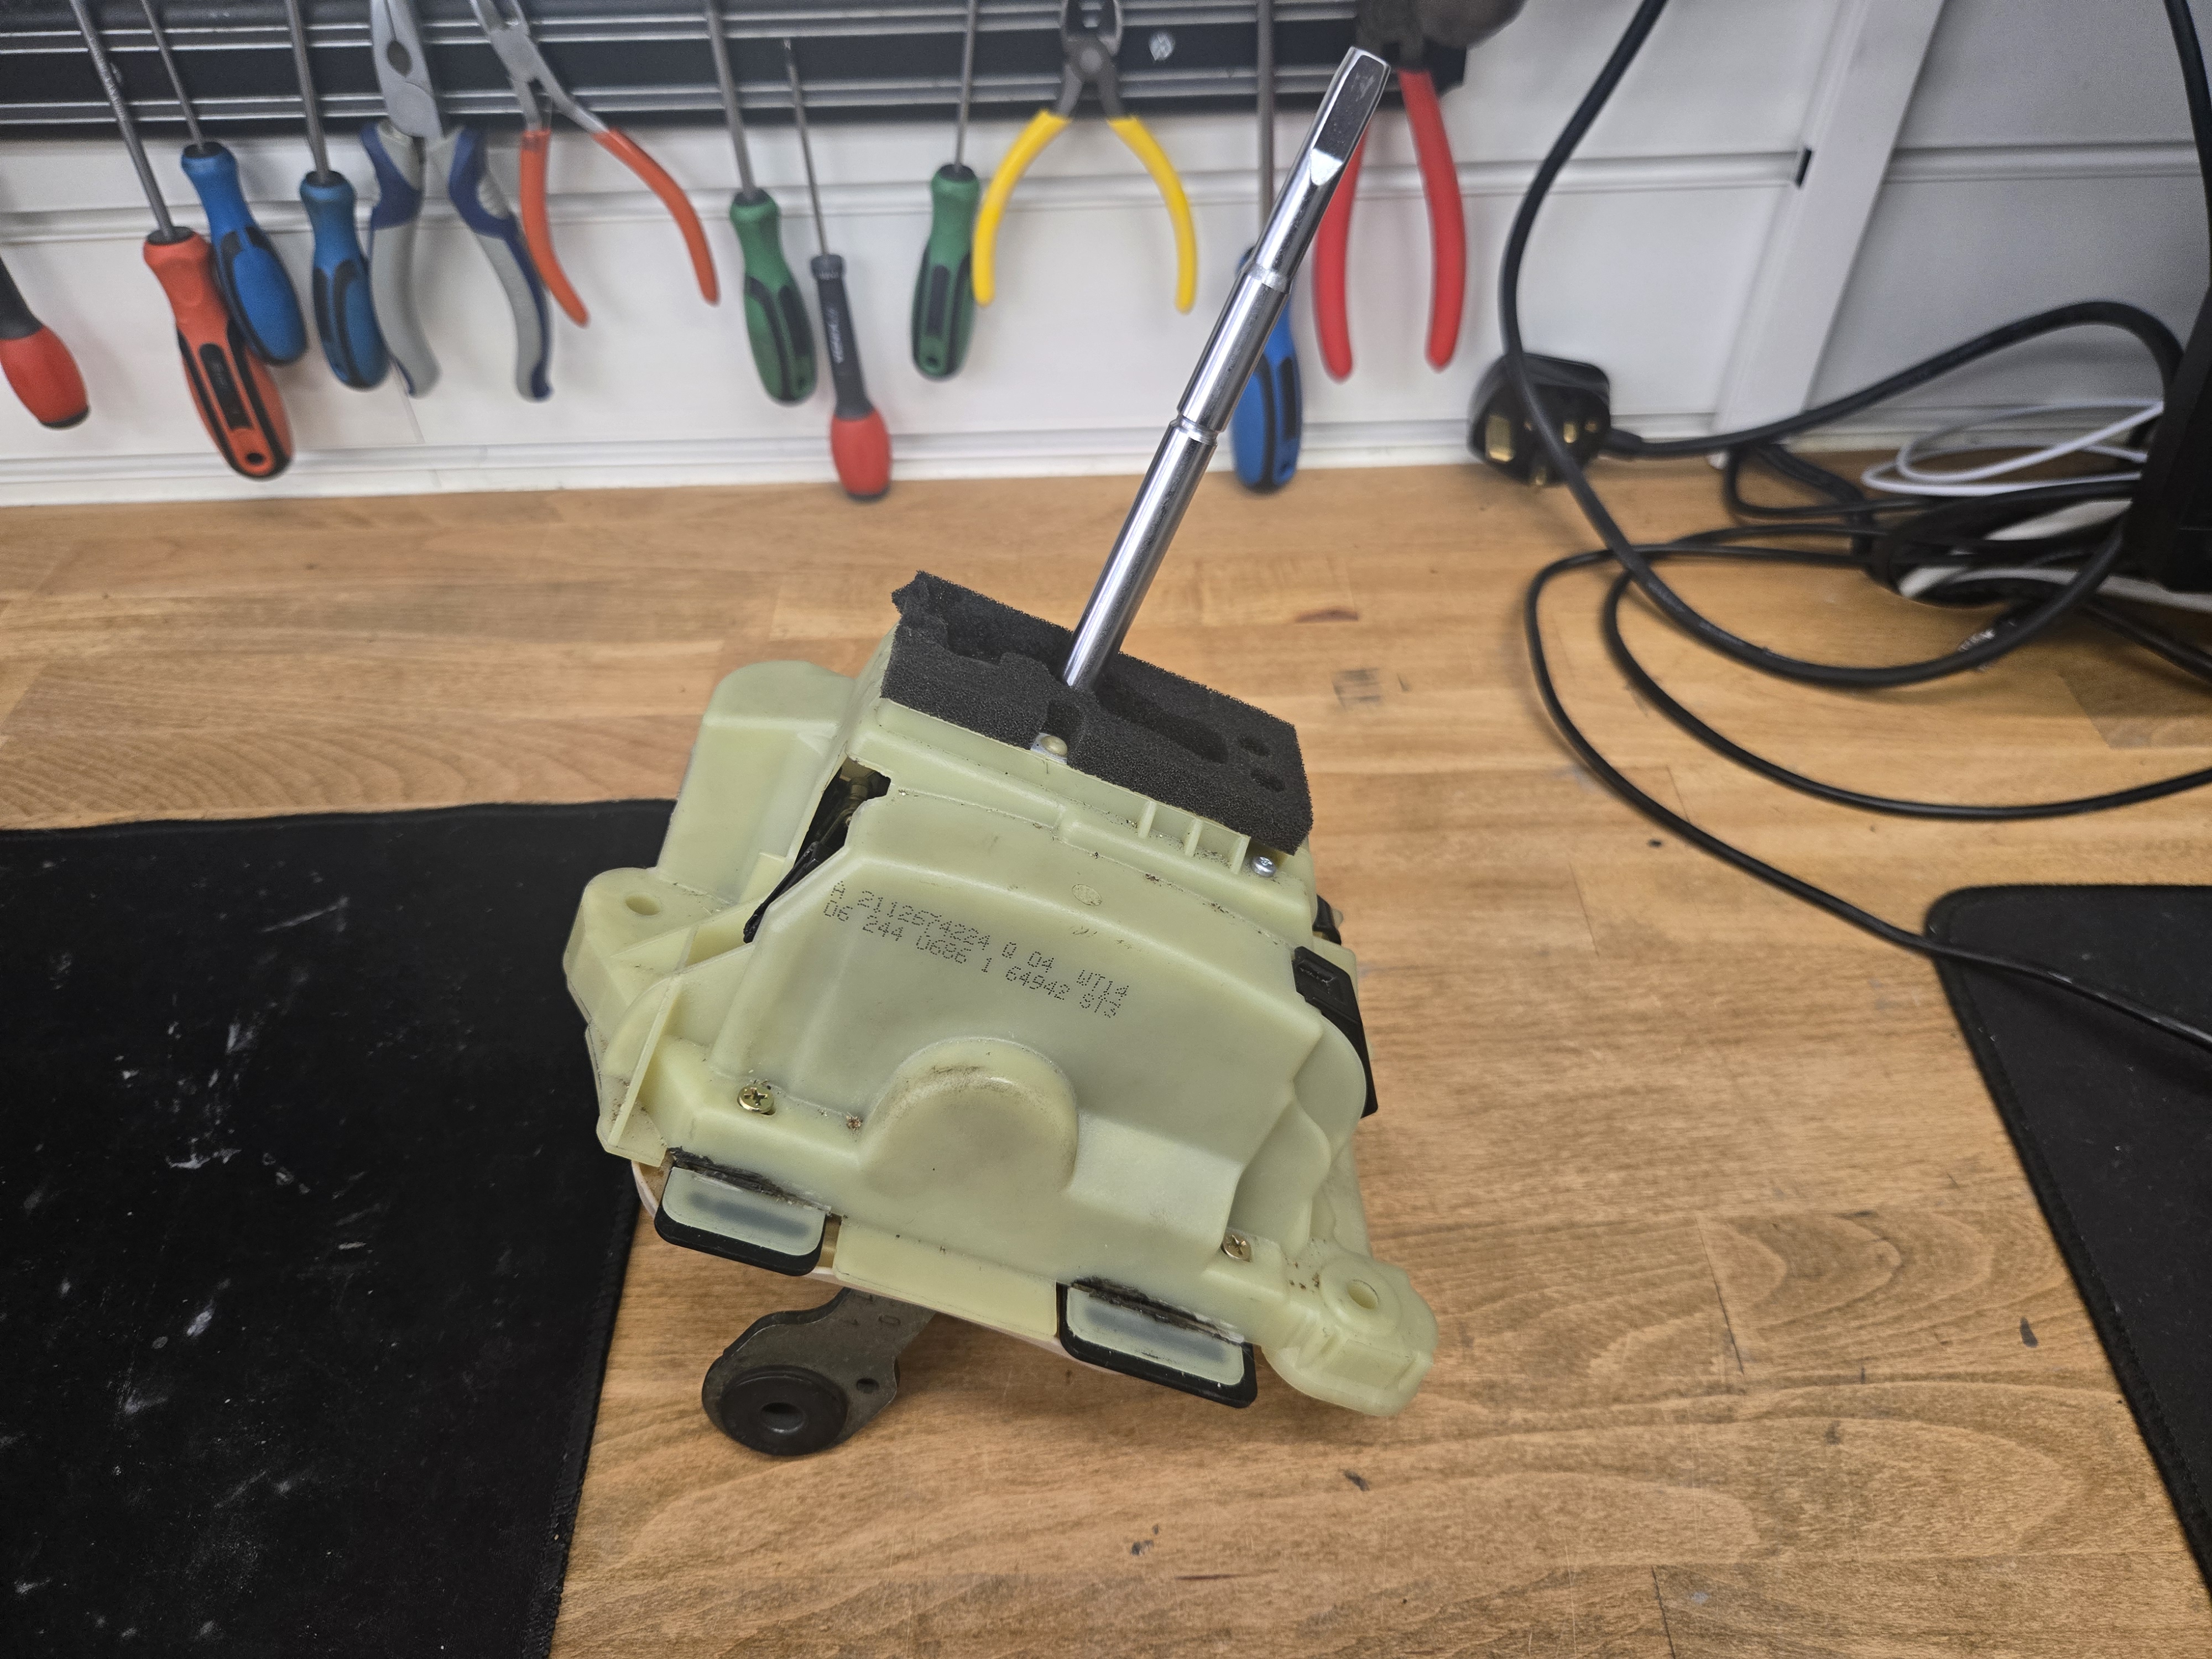
Merecedes W211 Shifter Repair
For daily driving and for my wifes business, PlutosPantry, we have a 2006 Mercedes-Benz E-Class E220 CDI. It has what is apparently a fairly common issue with the automatic shifter. On occasion when you start the car to the left of the mileage you should see P/R/N/D and to the right C/S. The fault will start by not displaying anything where P/R/N/D should be, and apparently can also not show C/S but mine hasn’t done this. When this is missing you can shift to D but it will be quite clunky, and drive but the car will stuck in first gear, and you won’t be able to select reverse or park without turning the car off first.
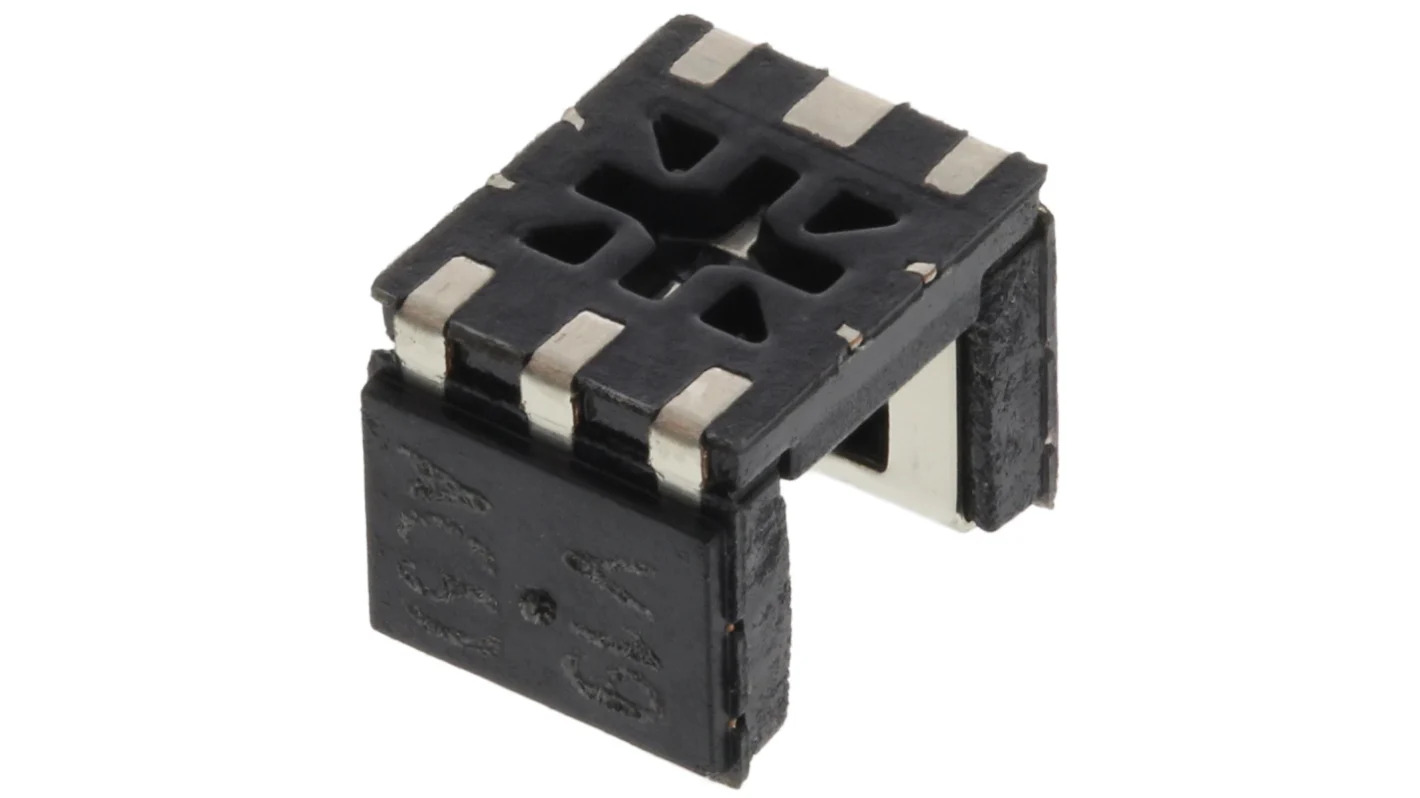
This is caused by faulty optical switches in the mechanism. You can replace them with TCPT1300 or TCPT1350, TCPT1300 is a like for like sensor but 1350 also work.
You can either just replace the shifter with a used one on eBay which at the time of writing range from about £80-£150 but as these are used the fault could just occur again, tomorrow, next week, etc. so really the best option is repairing your one.
If you’d like to try this yourself I will try to explain below the process, but it does require quite advanced soldering knowledge and ability.
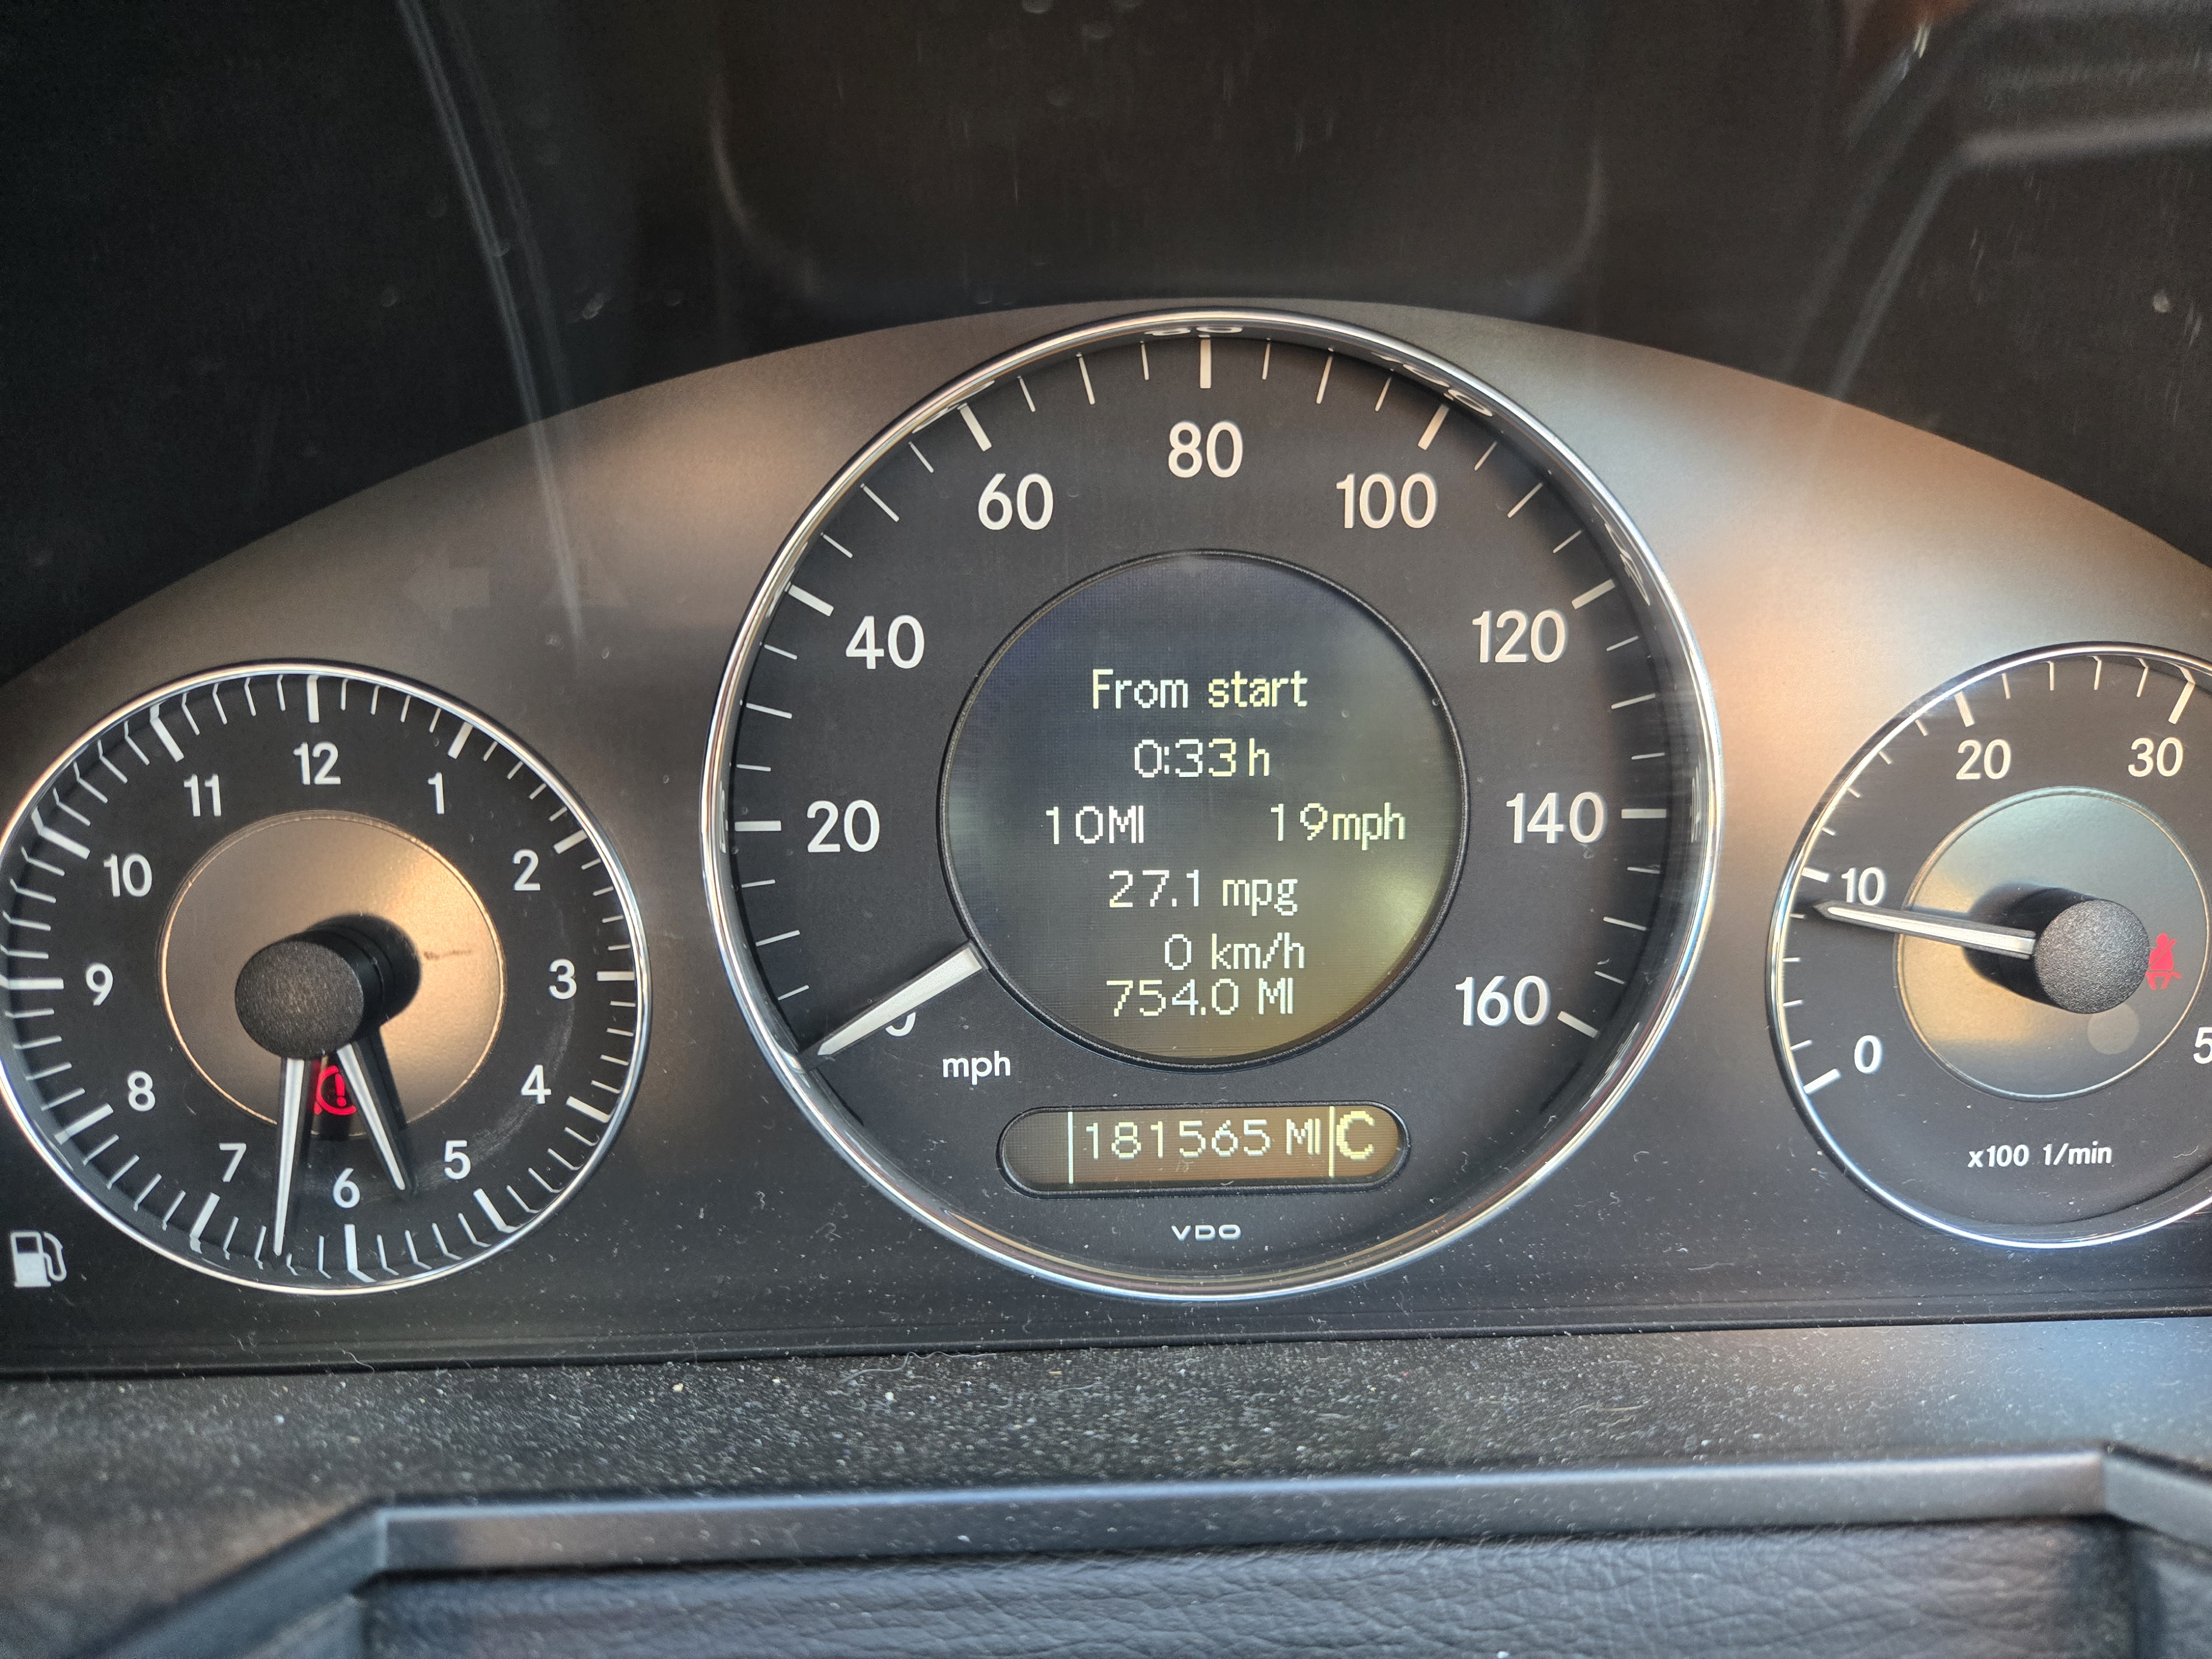
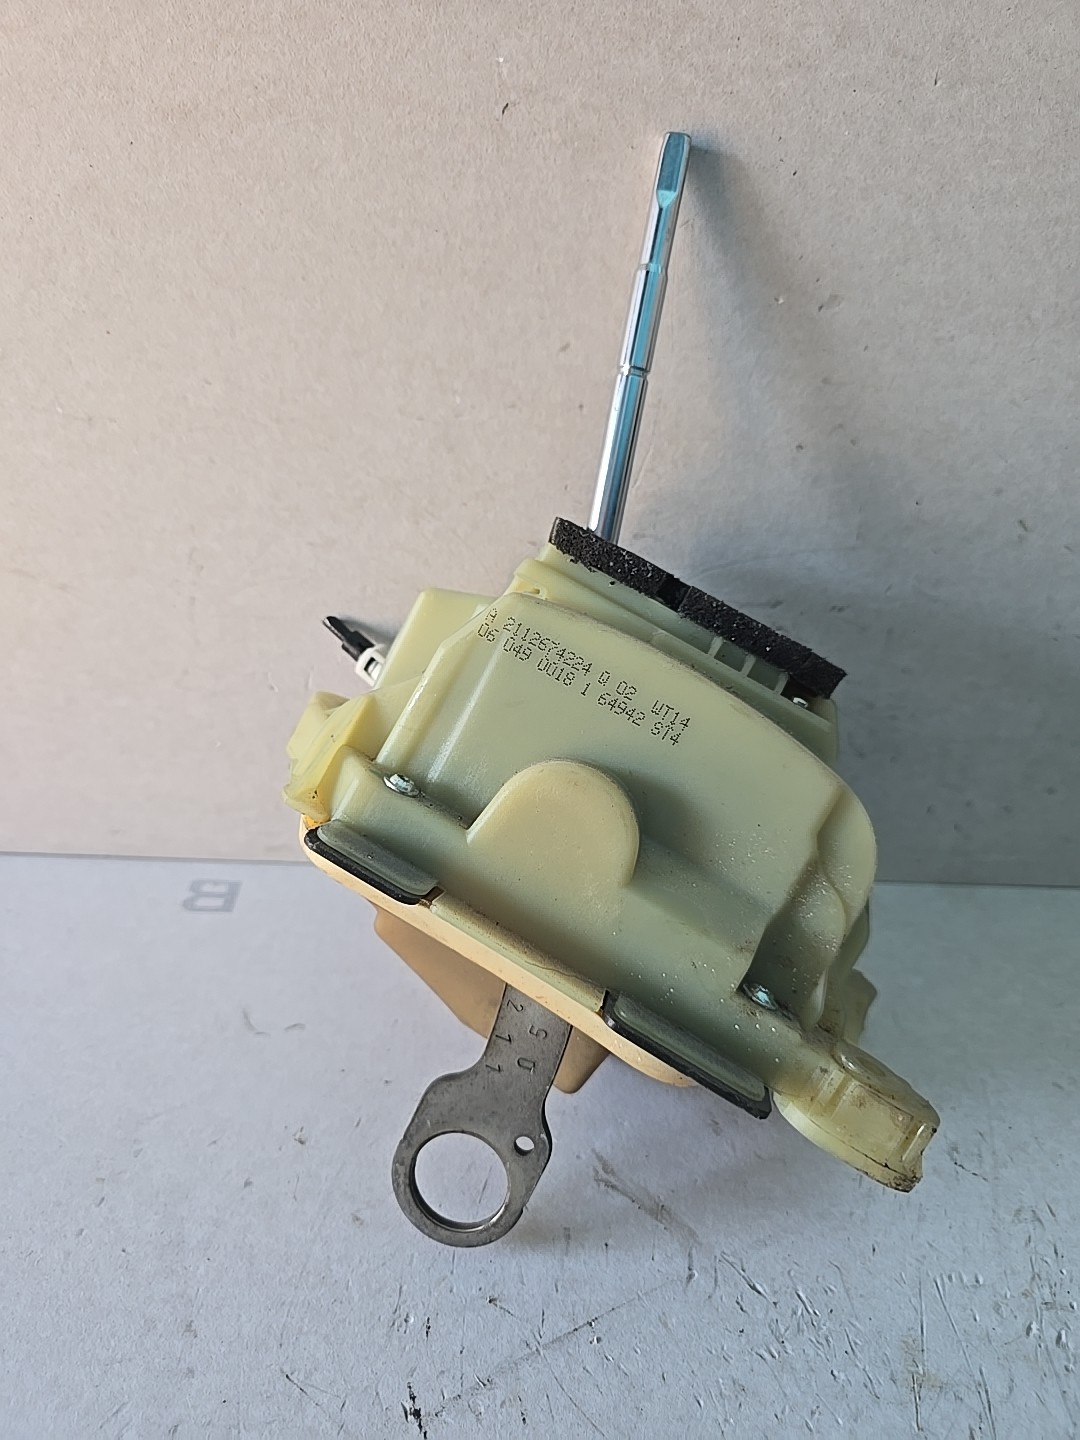
First you have to remove the shifter itself from the car, there’s plenty of videos on YouTube showing you how to do this, like this one here.
Once the shifter is out the actual repair can begin.
To get the housing open you will most likely have to cut the four tabs holding it down, two eitherside. Unless you have a pre-2004 model which are just help together with 4 screws. Mine is a 2006 so I had to cut it, but this easy with a dremel.
Once you have the housing open you will see a black box with a plug going into it, this is what we need to remove and repair. The best way is to put the shifter into D, then remove the two large T screws holding the box to the shifter. Then pull the box along the shaft as far as it will go, once its as far as it can go wiggle it very careful up and away from the shifter.
When you have it off you can undo the 4 screws holding the plastic case together and remove the board.
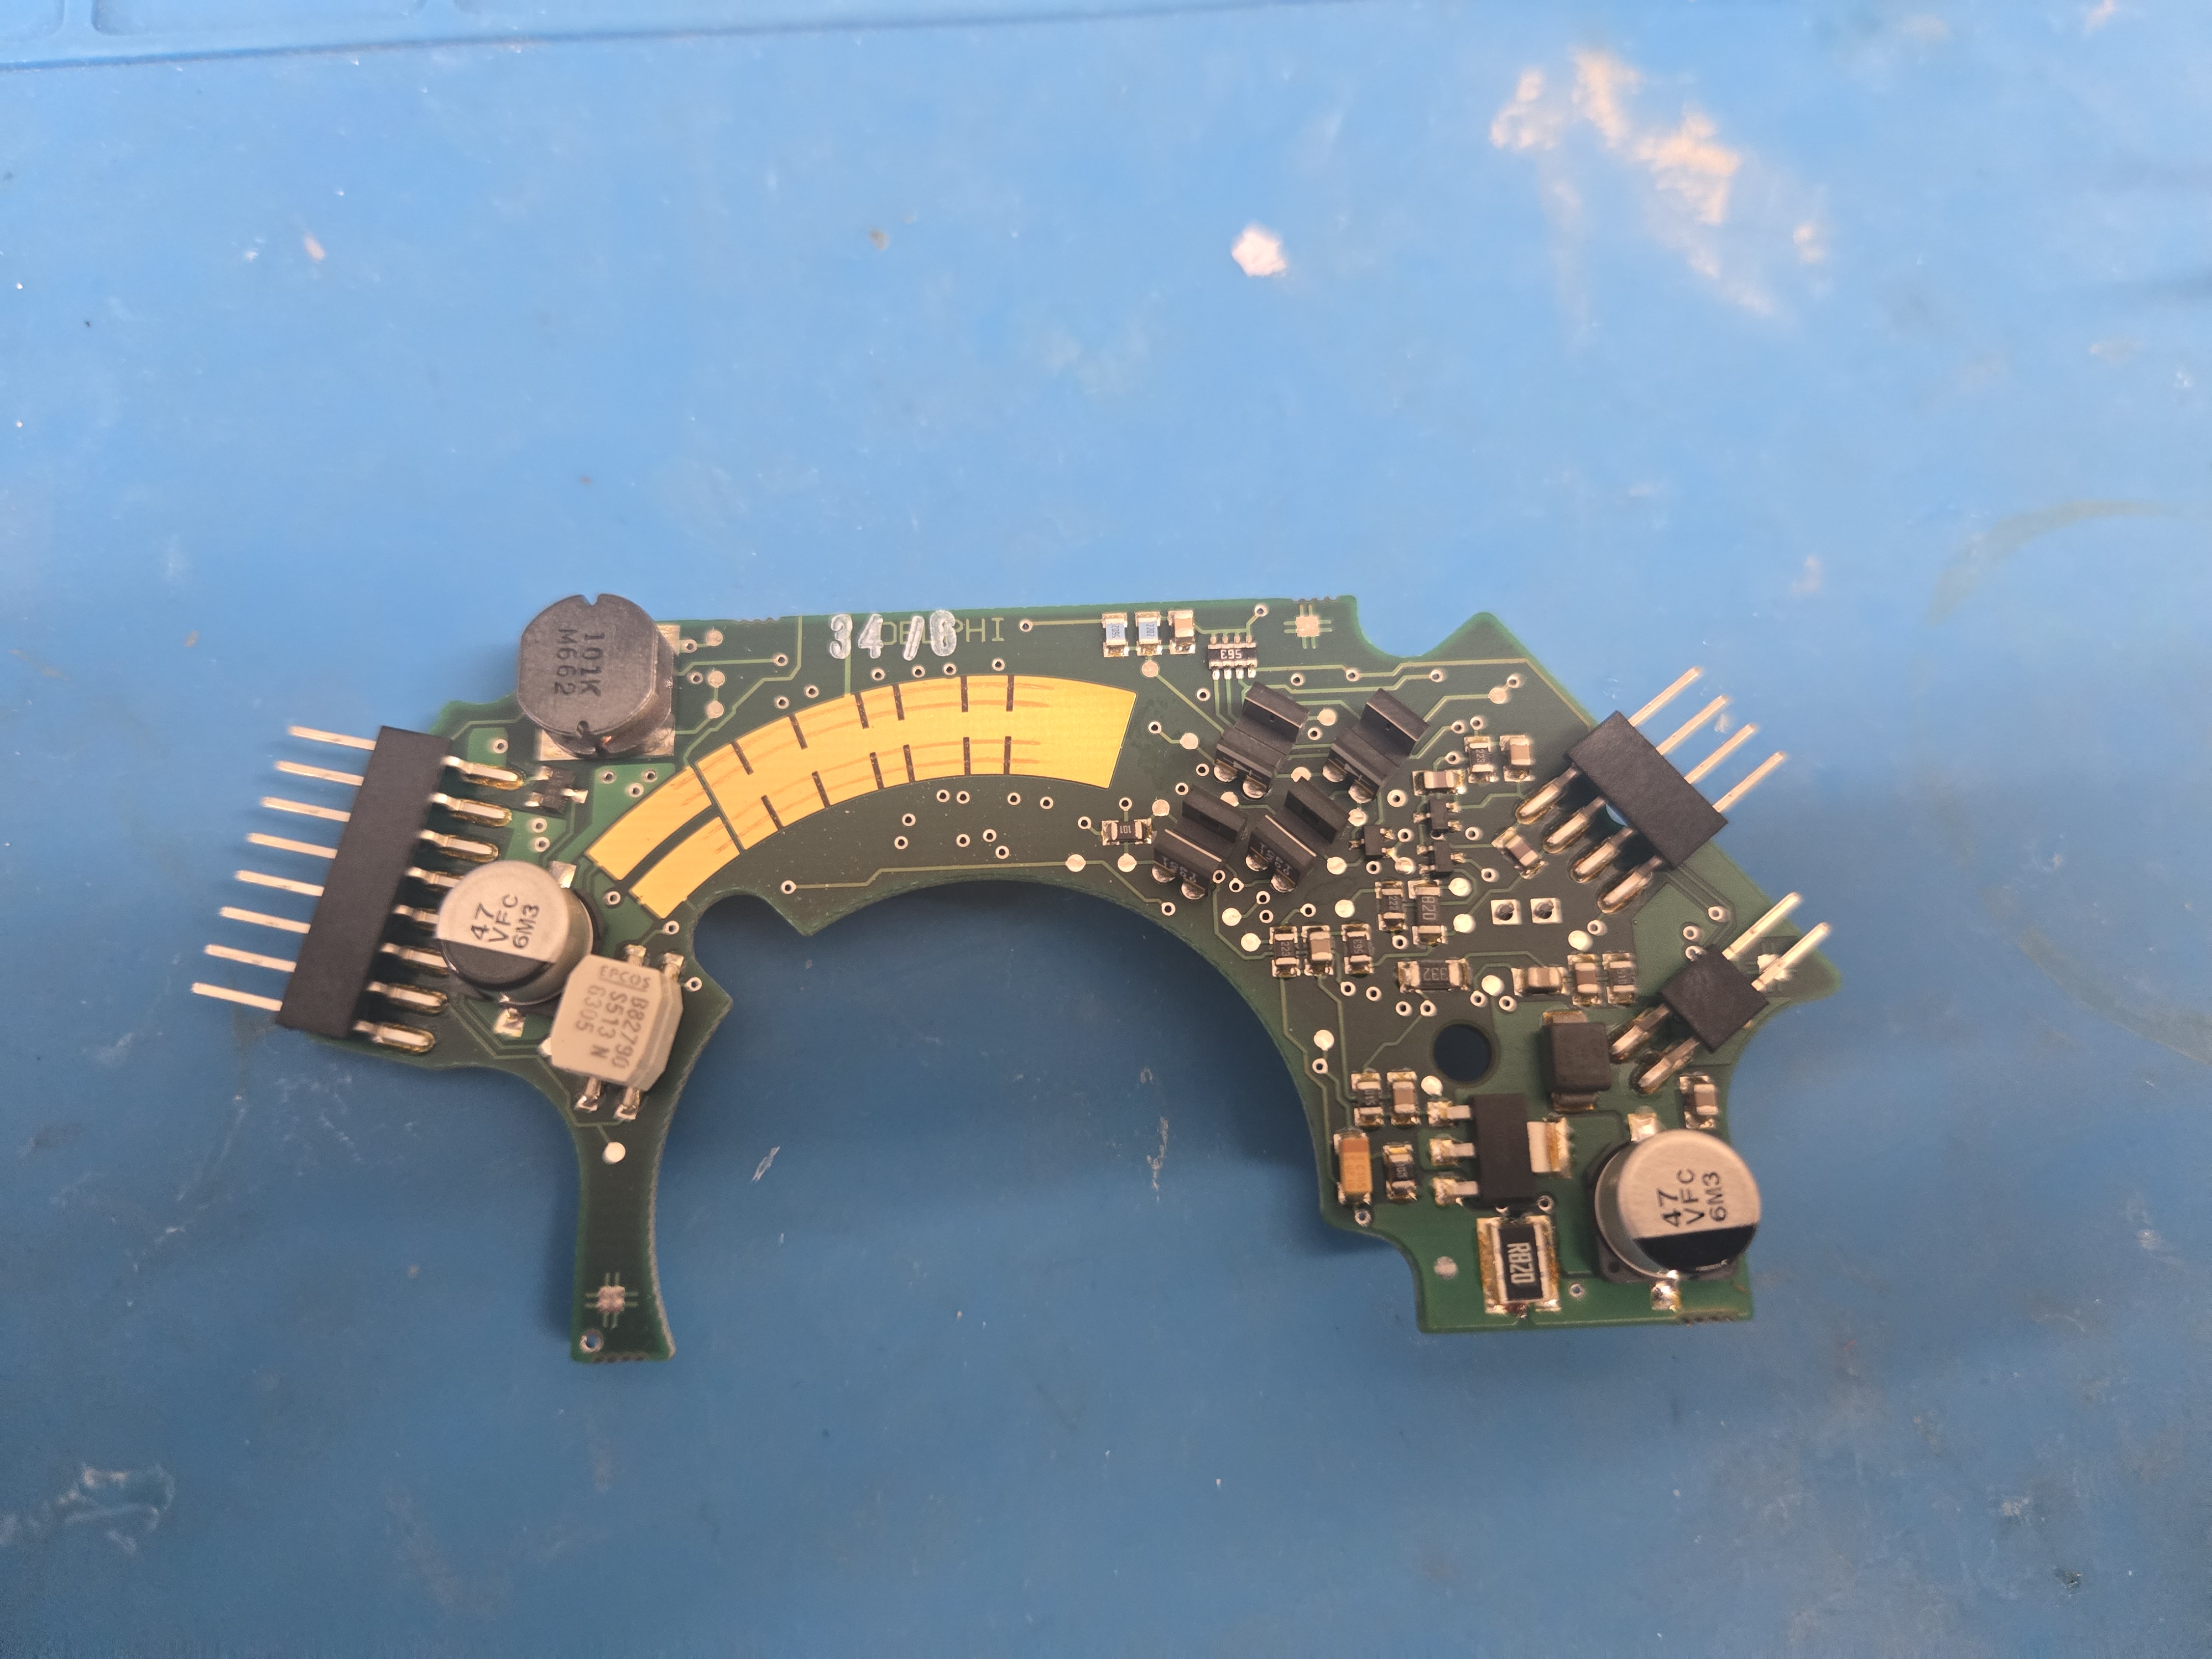
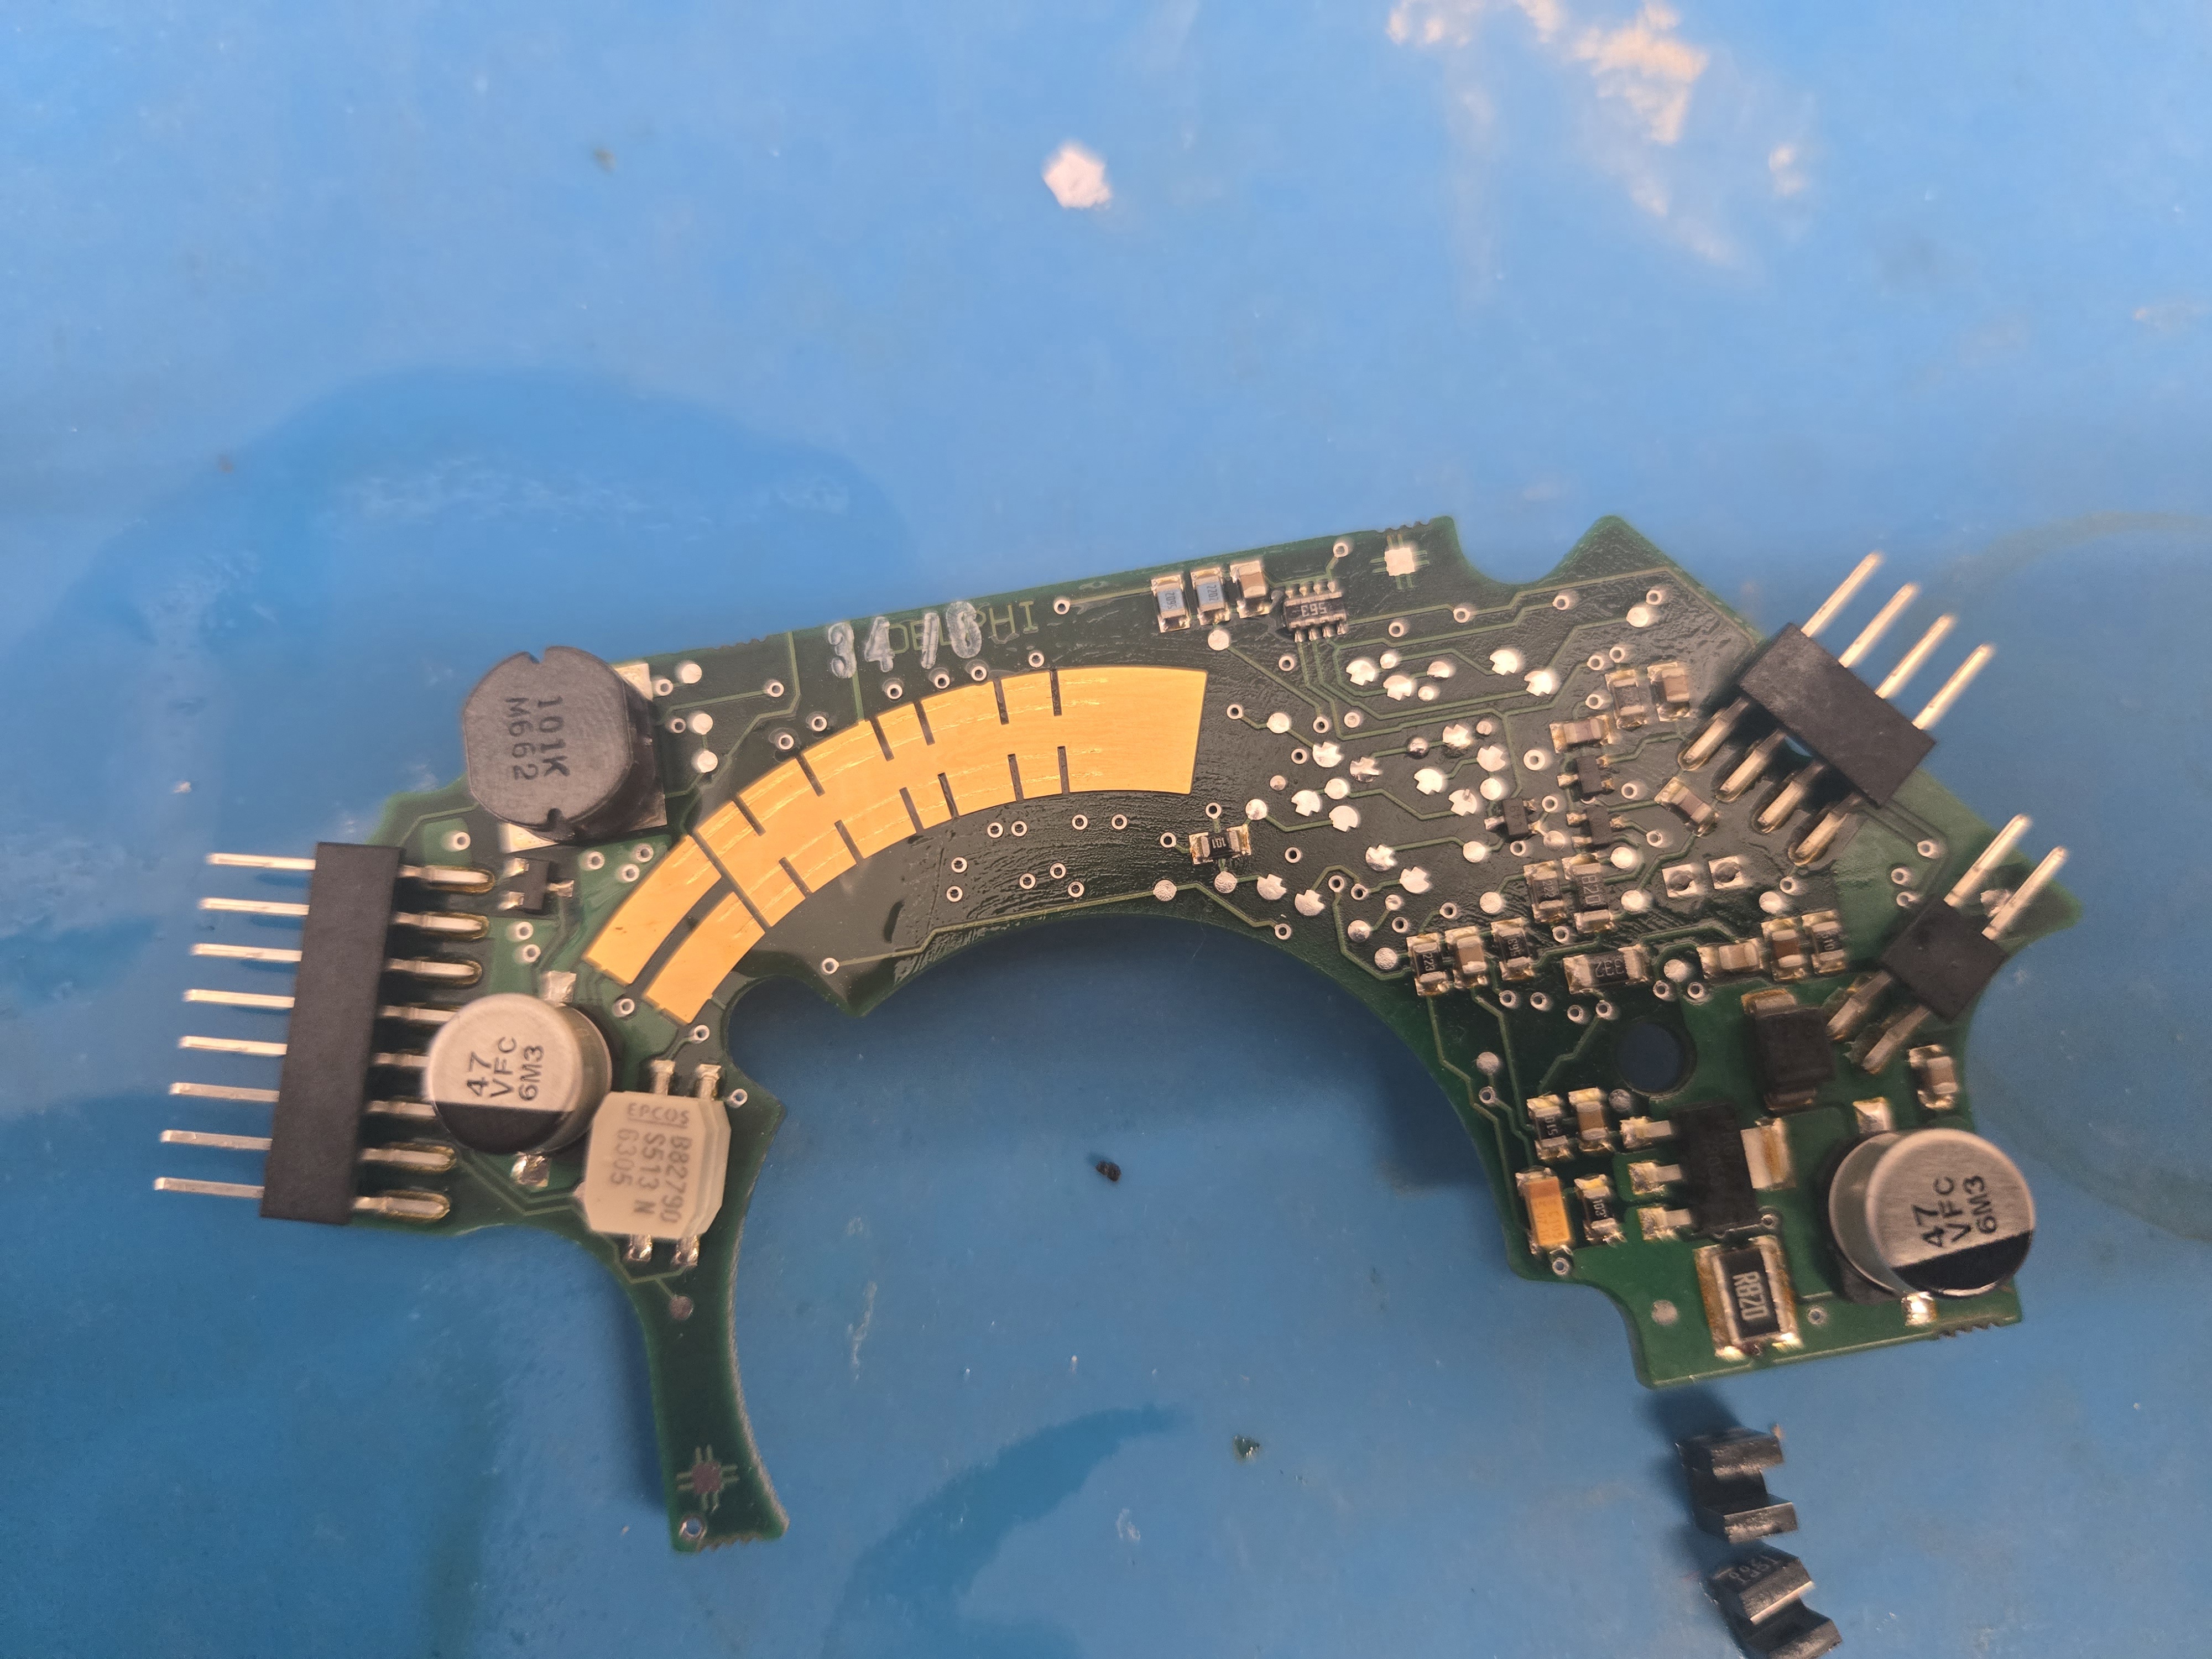
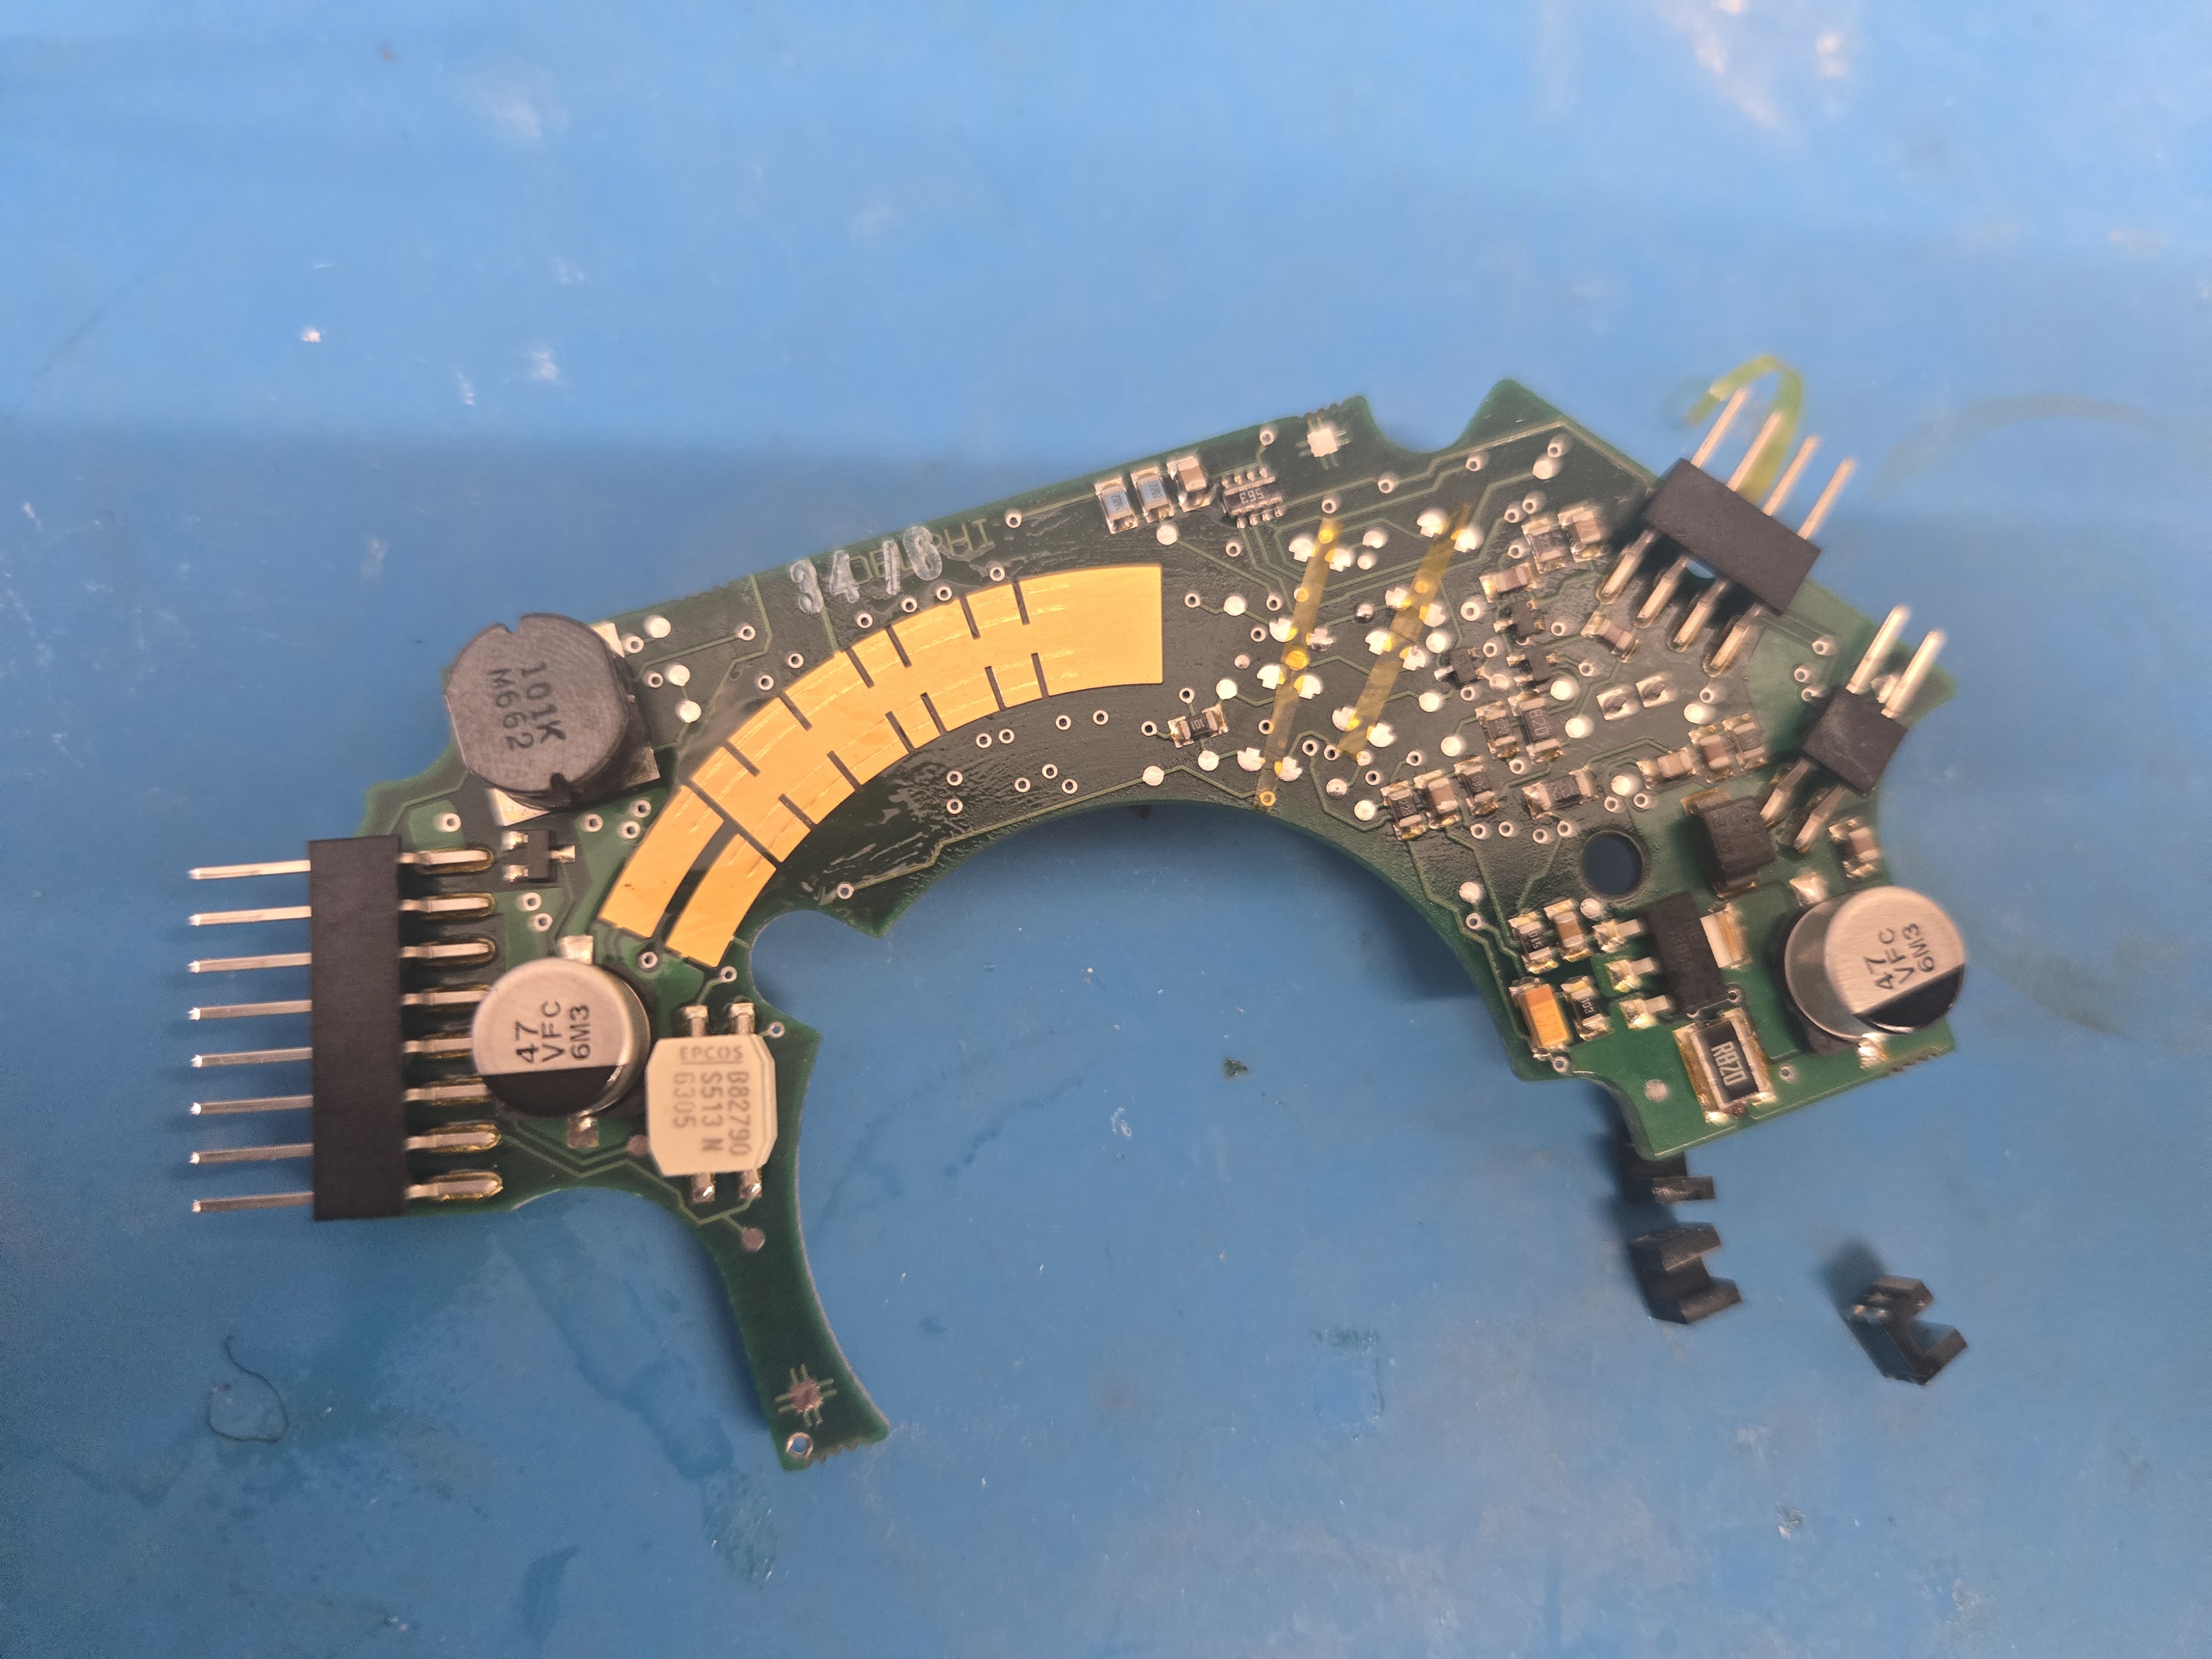
Above you see what the board looks like before and after removing the optical sensors. I found hot air to be the best way to remove them, just be mindful of the small components around them and also the backside of the board.
The new sensors have anchoring pins in the middle unlike the originals so you need to apply a very small strip of kapton tape to prevent shorting, I found this to be the most awkward part of the job.
Once the new sensors are in just do the reverse, put it all back together and I used some self tapping screws to keep the shifter housing together, a bit like what they did for the pre-2004 models. The holes and threads are already there.
There are actually 2 more of these sensors in the top part of the housing that handle the side to side movement, but I didn’t feel the need to replace these, as even if they do stop working it will only affect manual mode, which I never use.
This has now been good for over 4 months so I’d say this is the definitive fix.
